
Visual Development
Bambi Environment Study #2

Before we get started with another background study from the movie Bambi. I forgot to mention in the last post why I will be choosing the images that I am. As you can see in the selected images below (I will list the remaining three references)
I selected these three specifically because for Mr. Bindle I will be painting a lot of fields specifically cornfields, so I wanted to see how Disney’s animation studio broke down similar images. And the closest to cornfields are the images of grasses and meadows.
I will be following the same procedure as before. And will be using all of the same material and brushes as well. Though due to a grass issues I added some hairbrushes to fix that those brushes were:
Clip studio asset store:
Hair Shine Brush Content ID: 1993184
(Specifically, the first one Hair rough and shiny brush, fine pointed or 髪ざらツヤブラシ・細尖り
Kyle’s Copier Brushes
Specifically, Kyle’s Copier - Bristle Drag
So, with all that said I hope you enjoy the video demonstration below.
Takeaways
These are some of the takeaways from what I learned in my study.
All in all, this was a great experience pulling from an original work and trying to see how to replicate it in a digital painting style, but it did have its difficulties.
The initial laying down of color was difficult. I had trouble dealing with the colors looking muddy.
And unlike last time the color picking from the original image didn’t lend me as much help as I would have liked.
I ended up having to guess at the approximate colors (though you may notice I still color picked here and there) and make sure to keep the image pulled back in order to get the blocking down correctly.
So, because of these issues I worked on it slower than the last one. For instance, I took more breaks and flipped the canvas more often.
But this was to be expected. For each progressive reference image, I picked a harder image than the one before it. In the hopes that when it comes time for me to work on my personal backgrounds I will have worked through a lot of the kinks (time will tell with that one.)
When you place texture in the background or midground use the blur tool to blur out that texture. You only want to “imply” texture not give it completely. The detailed parts should be in either the foreground or around the character as a framing device.
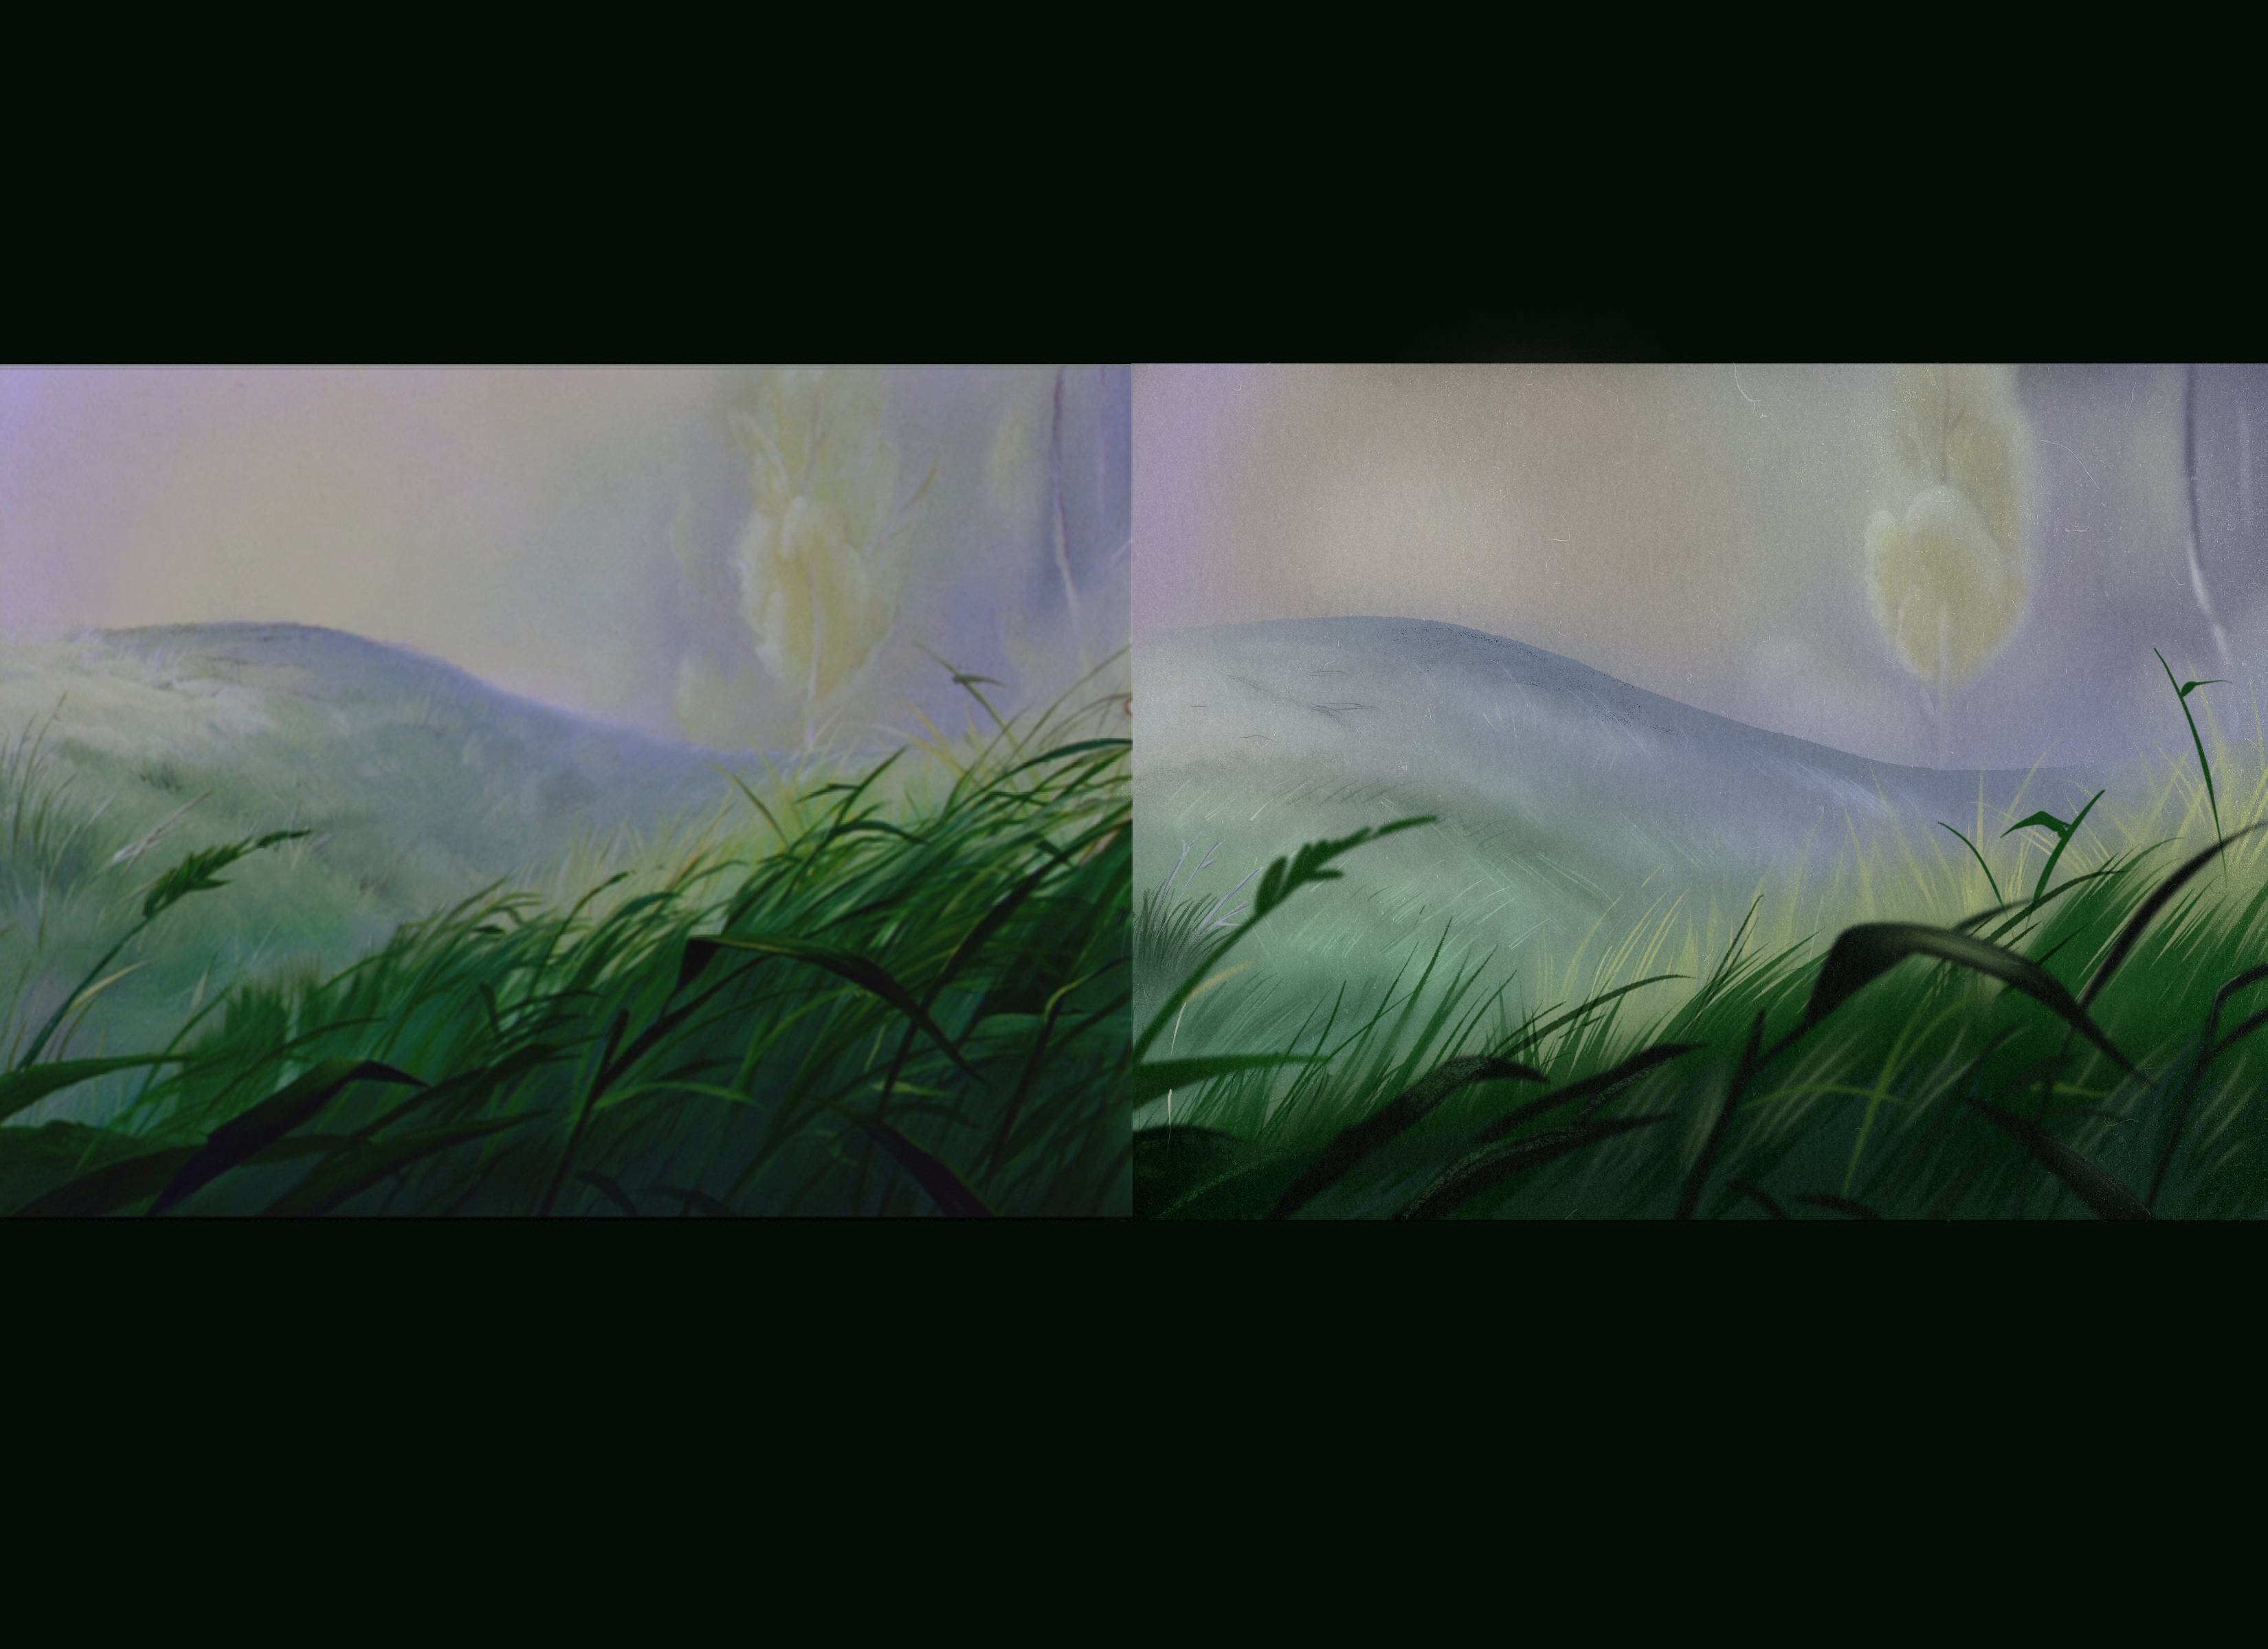
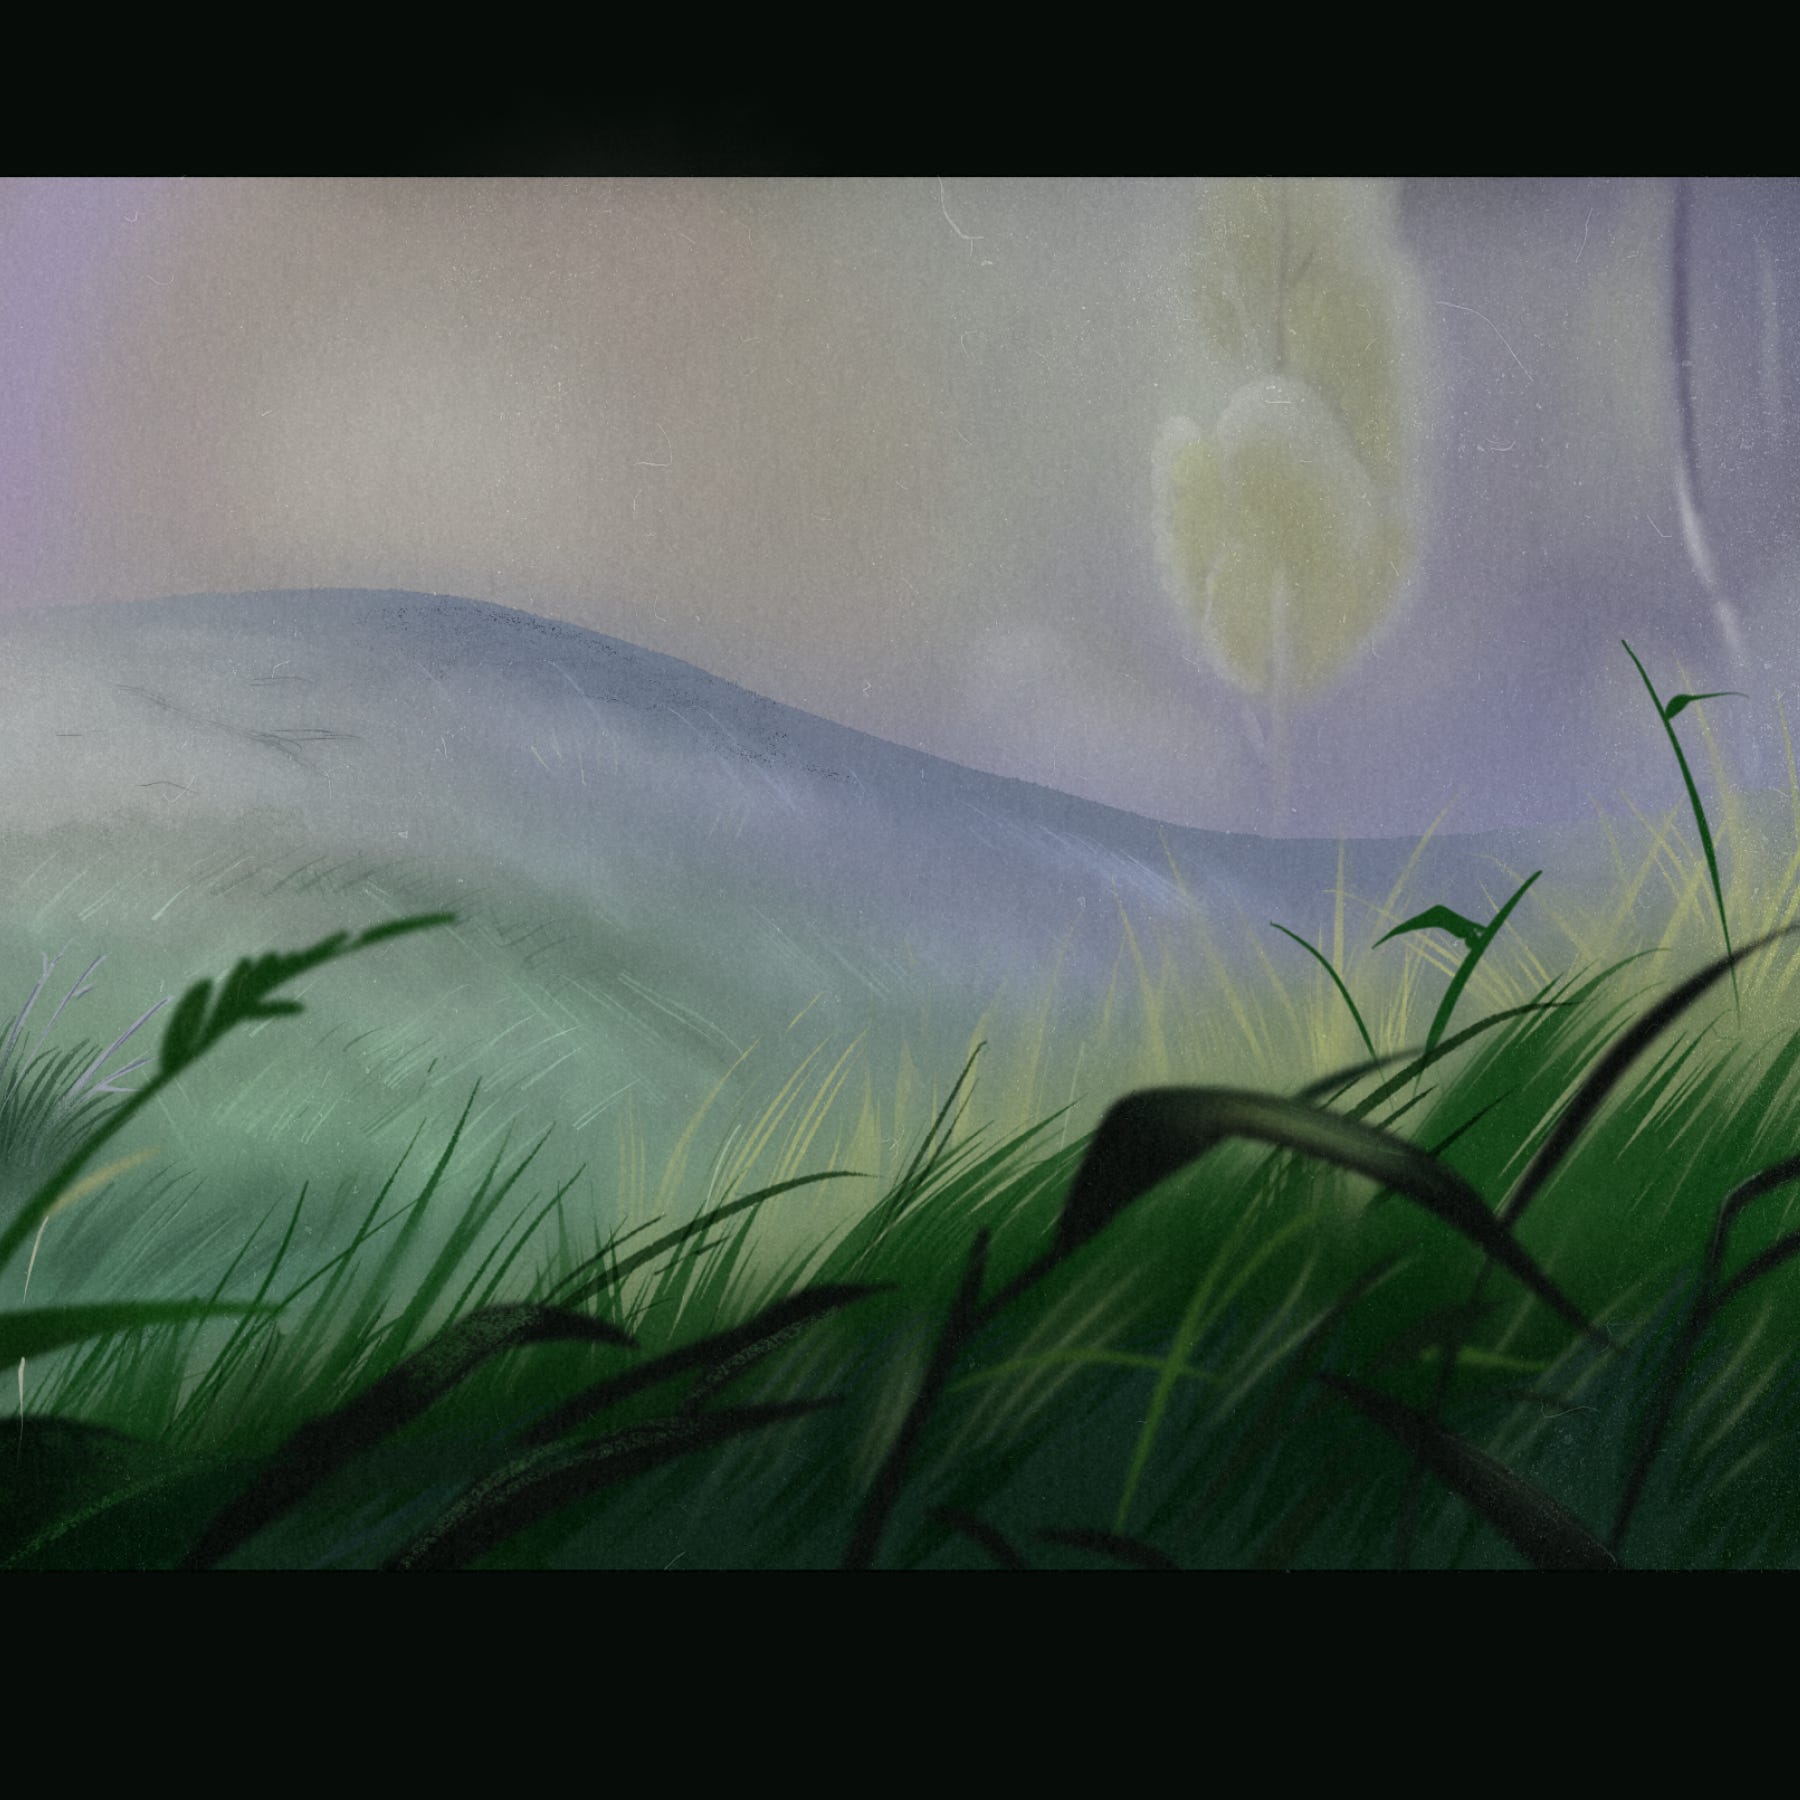
Reference Image & My Version
Time lapse
Next Time
In the next post I will be doing a third background study from the movie Bambi.
***
Please remember to like, share, and subscribe to never miss a post. This helps me to grow and reach more people!